The Big Picture
Ryver provides a way to organize all your team collaboration in one app. You can seamlessly organize your conversations, assign tasks, and hold voice & video conference calls without ever needing to use multiple applications.
Basic Definitions
- Organization — The team collaboration account you create is called your “Organization”. You will be prompted to create a unique domain (URL) for your team when you sign up.
- Username — Your username can be used to login, and other users can @mention you by using it in the app to send you a notification.
- User — A user can be invited to your Organization with collaboration permissions set as either a Member or Guest. See the Conversation Channels section below for a description of user permissions by role type.
Tips
- Keep a record of your Organization Name ([YourOrganizationName].rvyer.com), Username, Password, and the email address you provided to sign up.
- Download our Native and Mobile Apps and bookmark your Ryver Organization URL for quick, easy access on any device.
- Watch our Ryver Tutorial Videos to learn more about how to use Ryver.
Login
There are three ways to access your Ryver Organization account: through your Browser, Mobile App, or Desktop App.
Browser Login
You can login to your Ryver Organization in your browser of choice through the Ryver login page. See a list of browsers that work best on our browser support page.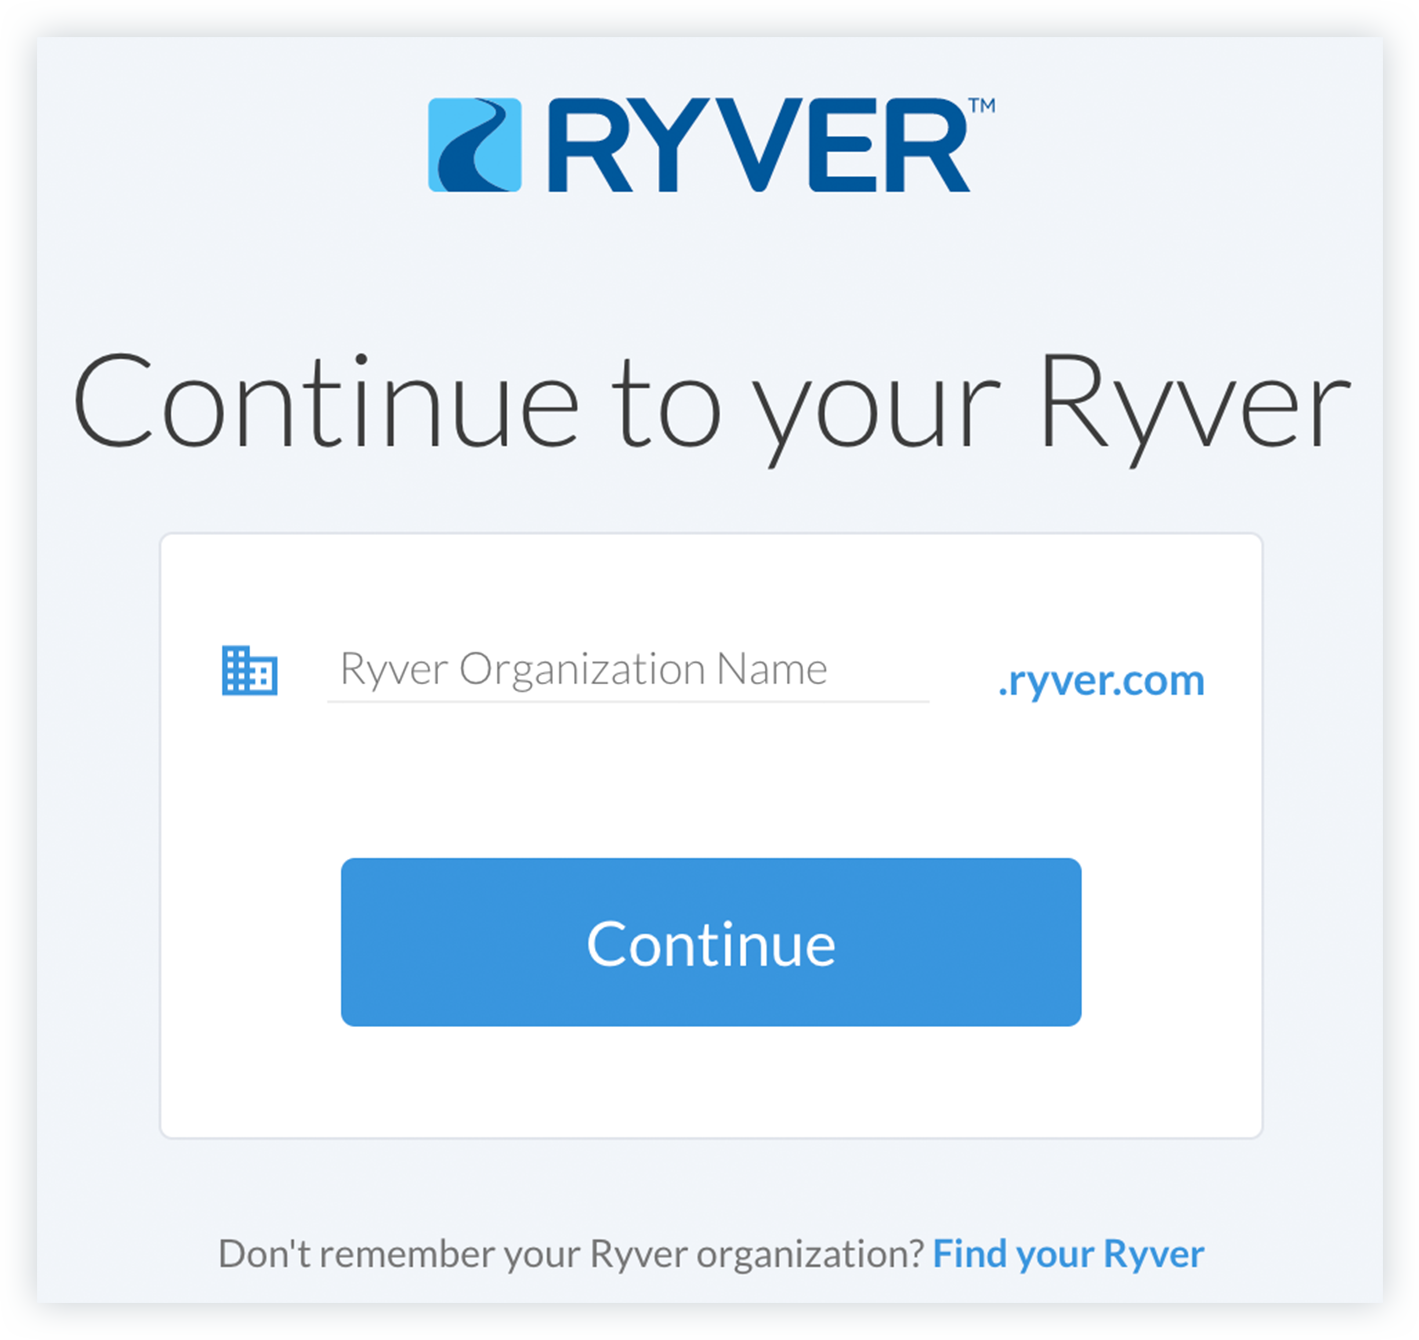
Users who are a part of multiple Ryver Organizations can easily switch between them by logging out and logging in to a different Organization, or by having both open in different browser tabs.
Mobile App Login
You can login to your Ryver Organization using the free Ryver Mobile App.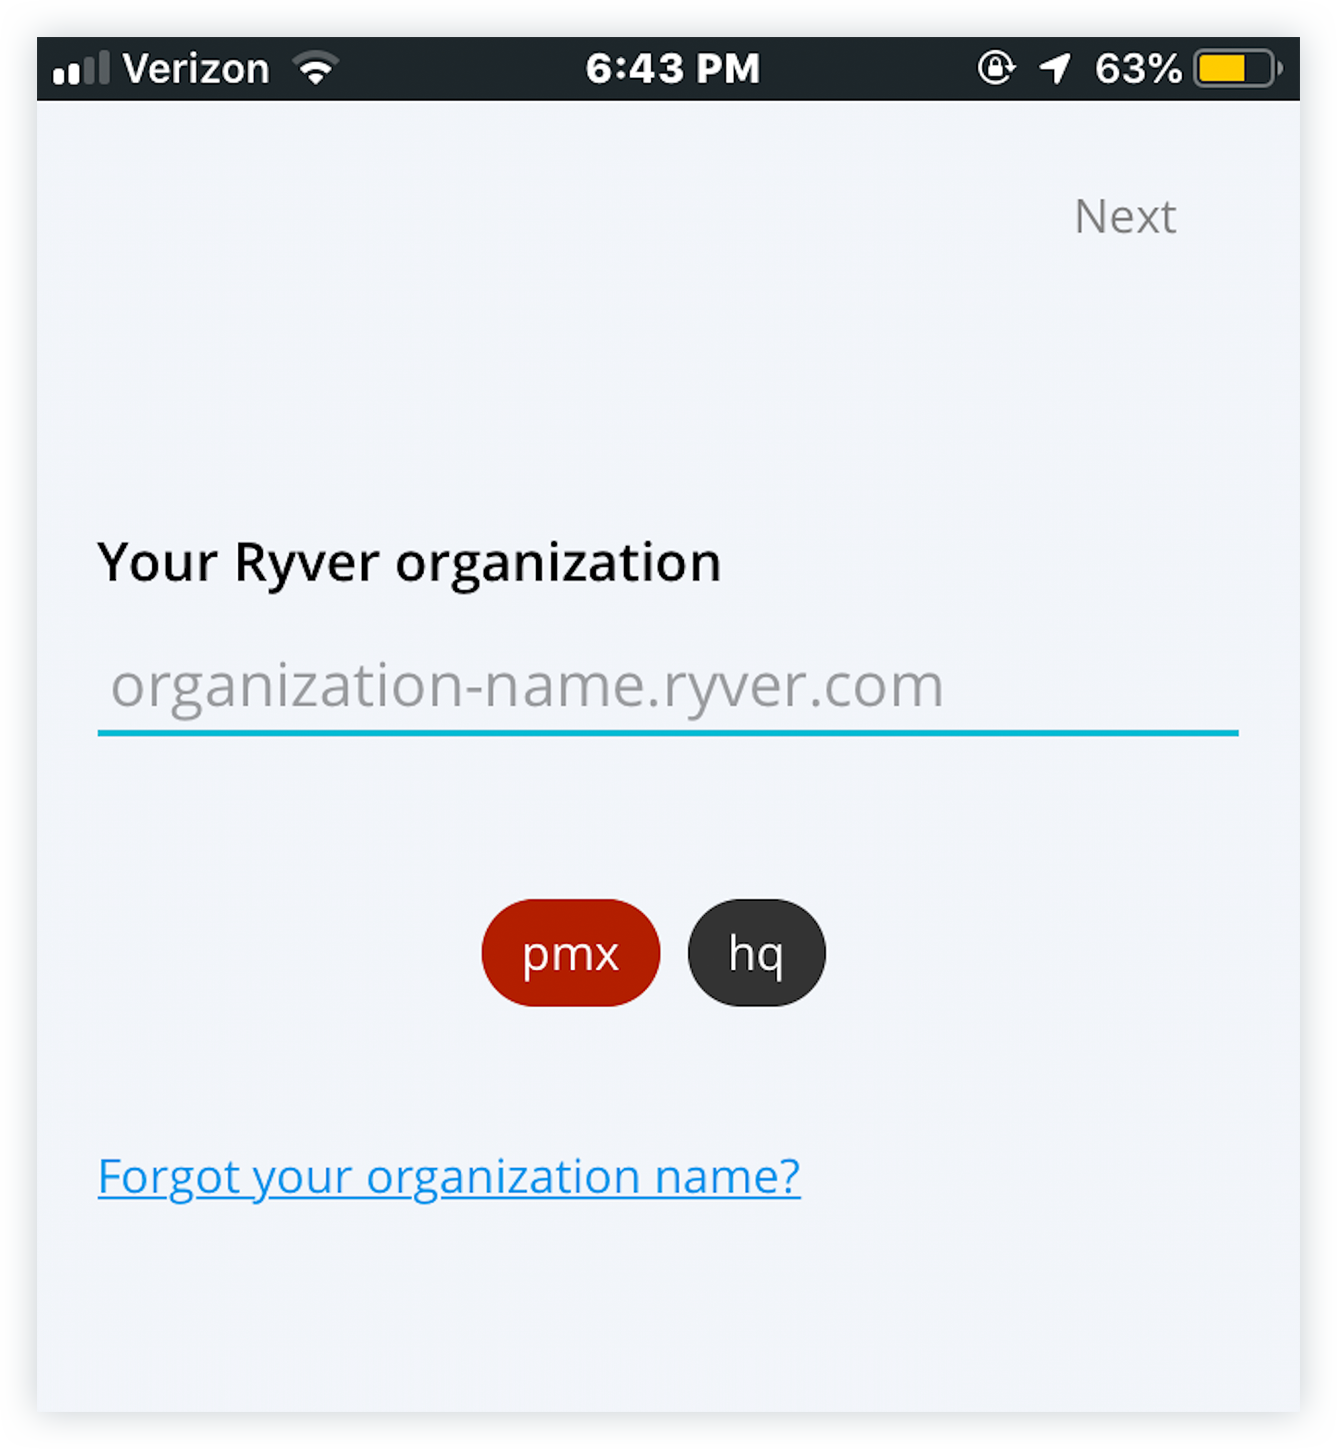
Users who are a part of multiple Ryver Organizations can easily switch between them by using the “Switch Organization” button (pictured below) found in the User Menu located at the top of the Navbar.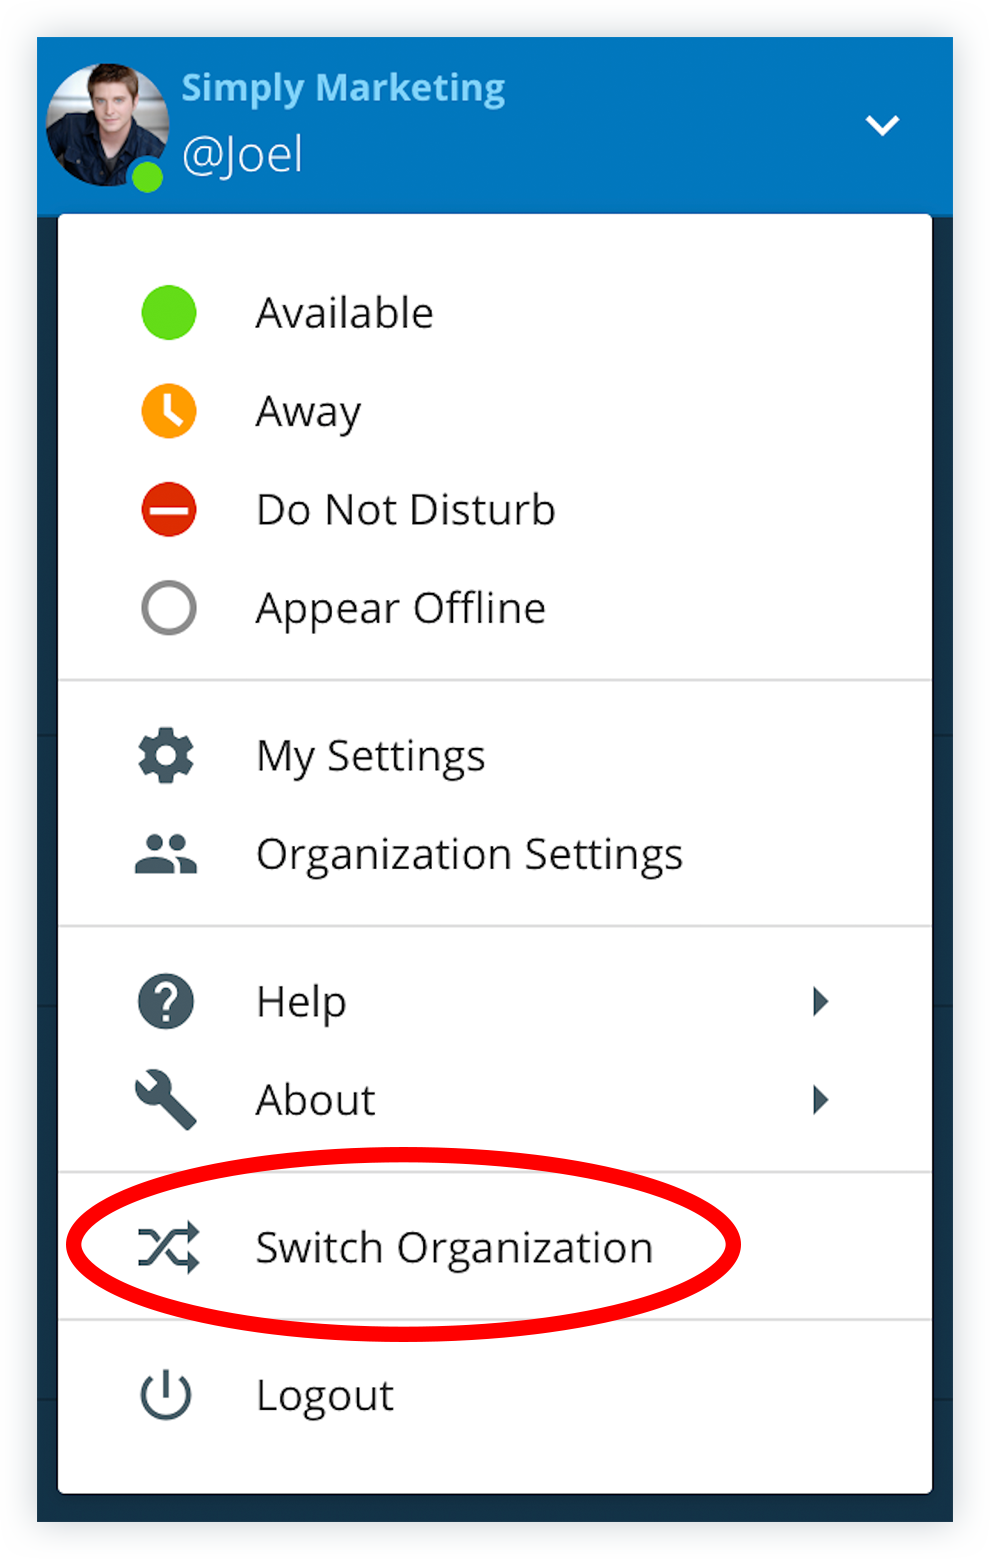
Desktop App Login
Users can login to their Ryver Organization by using the free Ryver desktop app. 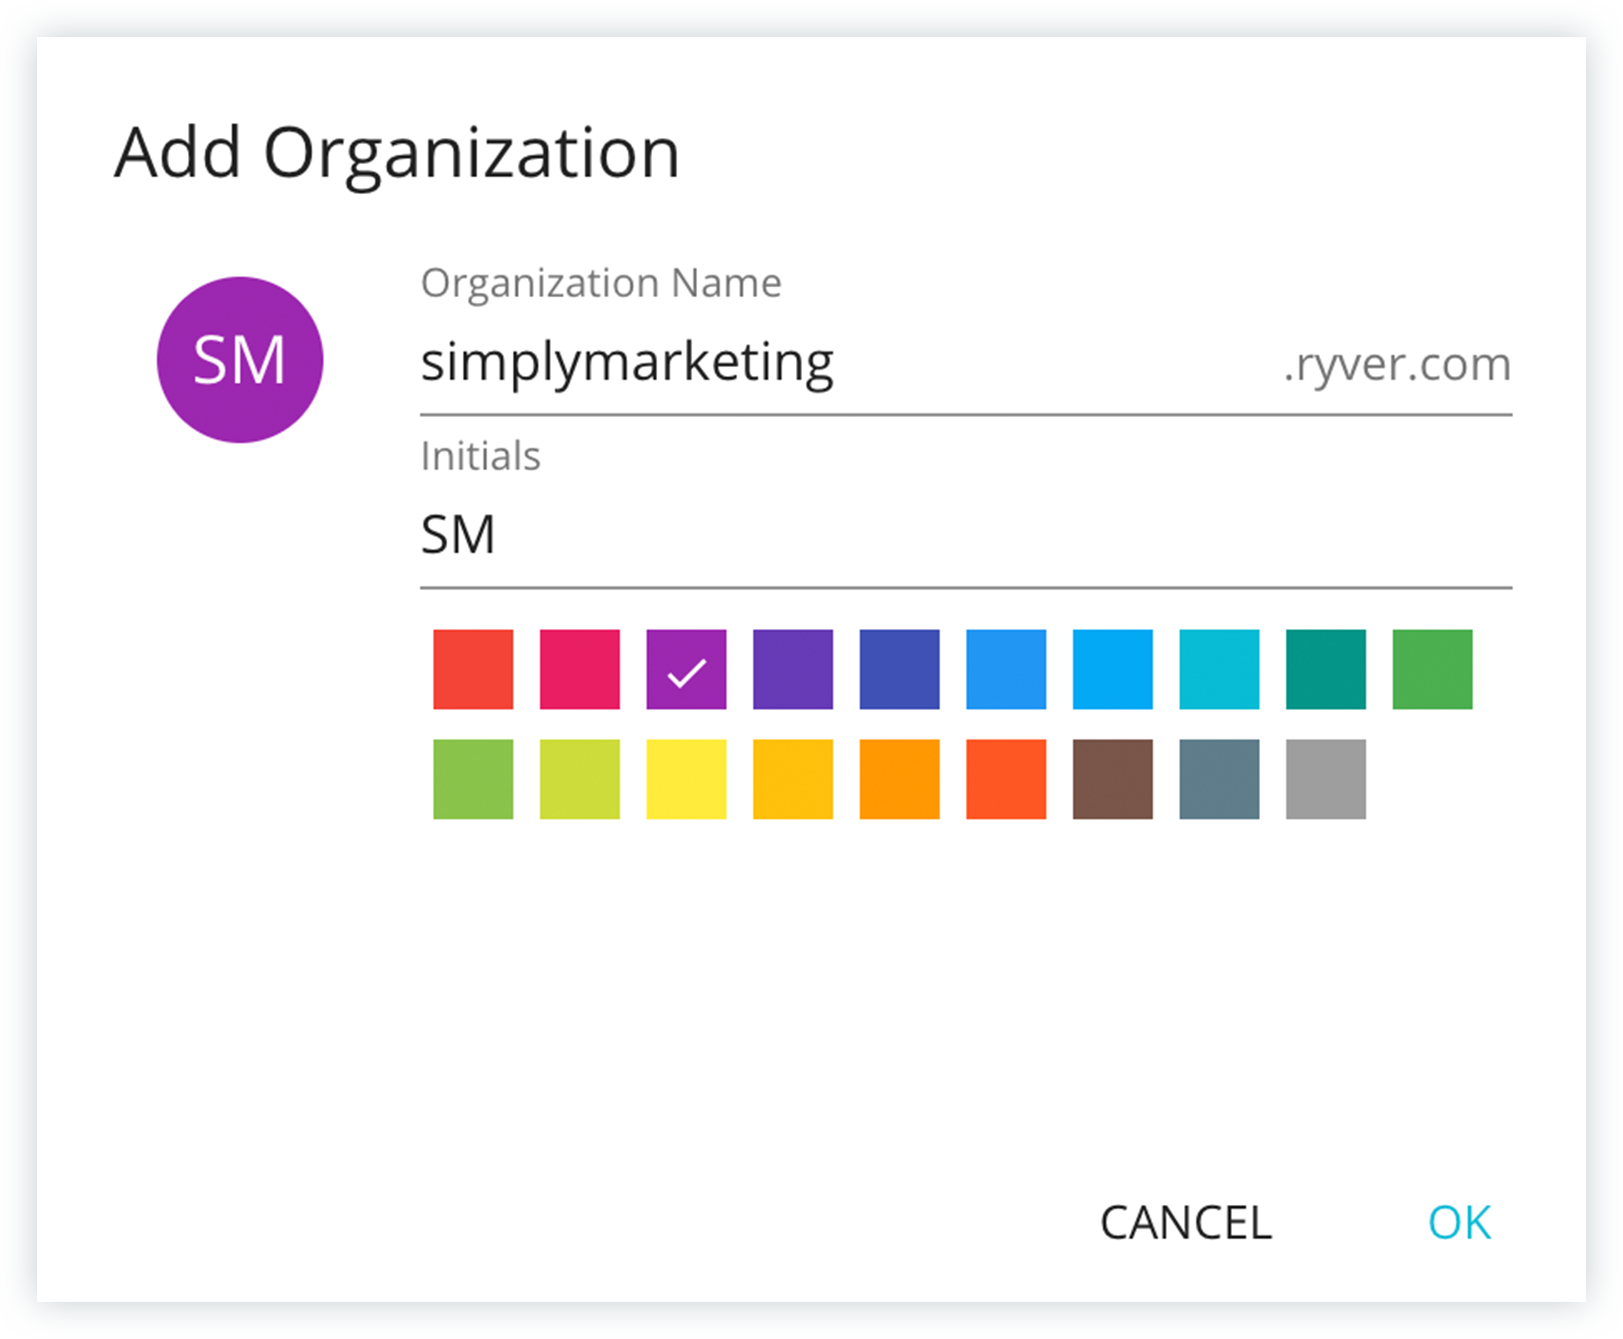
Users who are a part of multiple Ryver Organizations can easily add and switch between them using the Organization Switcher Bar (located left of the Navbar).
Navigation
Navigation Bar (“Navbar”)
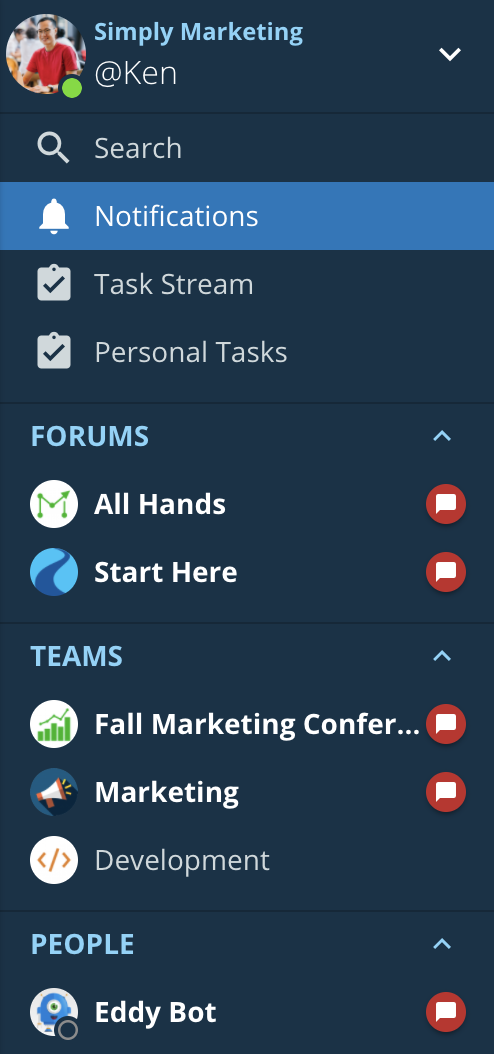
The “Navigation Bar” (“Navbar”) is the vertical menu on the left side of the your Ryver interface that provides global search capabilities, a notifications “inbox”, overview lists of topic and task streams, and conversation channels.
Pinning Channels
Communication channels (Forums, Teams, & People) can be “pinned” and “unpinned” to the Navbar for easy access. “Pinning” an item causes it to display in the Navbar.
NOTE: When a new channel is created, it is automatically pinned to the Navbar.
To Pin an item, click on the Forums, Teams, or People section title in the left navigation bar to bring up the list of available Forums, Teams, or People. Simply click on the Forum, Team, or People channel to pin it, or select the ellipses button to the right of the channel and select “Pin to Navbar”.
Conversation Channels can be unpinned by clicking the “X” icon (pictured below) to the right of the channel name in the Navbar.
NOTE: This does not delete the channel; it merely hides it from the Navbar. Unpinned channels can always be repinned.
Favorites
You can also pin your available Forums, Teams, or People to the top of your Navbar for quick, easy access using “Favorites”.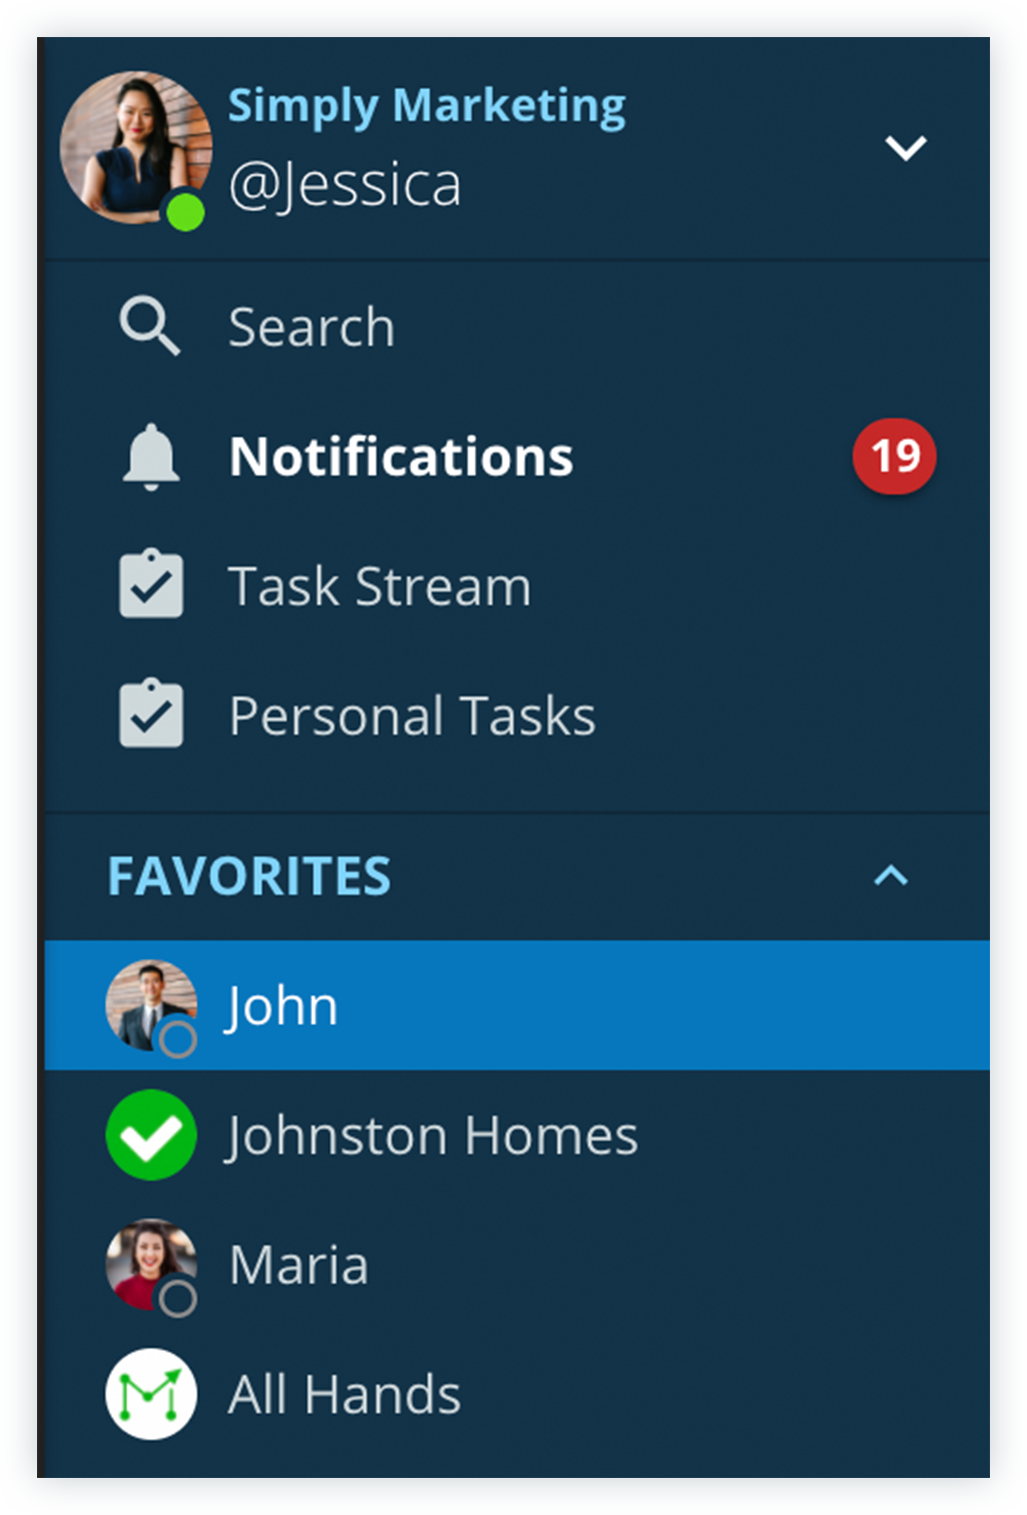
To favorite a Conversation Channel, click on the section title Forums, Teams, or People in the left navigation bar to bring up a list of available Forums, Teams, or People. Then select the ellipses button to the right of the item you want to pin and select “Favorite”.
Conversation Channels
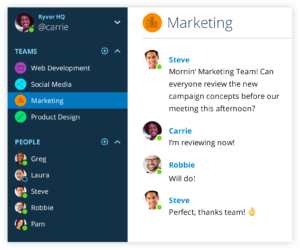
Forums
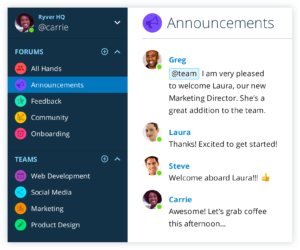
Forums are for open discussions with everyone on your team (great for making company-wide announcements).
SLACK COMPARISON: Forums are equivalent to Slack’s Channels. (And by the way, you can easily import your Slack users, open channels, and channel messages, files, and posts to Ryver by using our Slack Migration Tool.)
- All Members automatically have access to all Forums. Guest users can also be given access to Forums by your Administrator or the Forum creator.
- All Users in a Forum can see and communicate with everyone else in it, including any added Guests.
- NOTE: Once a Guest has been invited to a Forum, they will have direct massage access to all Members in the Organization in their People list.
- Click on the Forums section title in the left navigation bar to see a list of all available Forums. You can join the ones you’re interested in by selecting them in the list, or by clicking the ellipses button and selecting “Pin to Navbar”.
- To be alerted of new Chat activity for a particular Forum, you must “pin” it first.
- You can join as many Forums as you want and leave them at any time (and you can always rejoin in the future).
Teams
Teams are for private conversations with groups of teammates (great for organizing conversations by function, like a team for “Sales”, for “Customer Service”, etc.).
SLACK COMPARISON: Forums are equivalent to Slack’s Private Channels. (And by the way, you can easily import your Slack users, open channels, and channel messages, files, and posts to Ryver by using our Slack Migration Tool.)
- Users must be specifically invited to a Team (both Member and Guest users can be invited). Once invited to a Team, all Users can see and communicate with everyone else in it, including any Guests. Teams are private, so they are only visible to those who have been specifically invited. If you haven’t been invited, it won’t show up in your list of Teams, and you won’t even know it exists.
- When you create or are invited to a Team, you are automatically “joined” to it, and it is automatically pinned to your left navigation bar. You will be alerted of new Chat activity for all Teams that remain pinned.
- Click on the Teams section title in the left navigation bar to see a list of all available Teams, where you can also re-pin any teams that you had previously unpinned from your navigation bar.
- You can see who is part of a Team by opening the Right Sidebar to view the Roster, which can be opened by clicking the small chevron icon in the top, right corner of your screen.
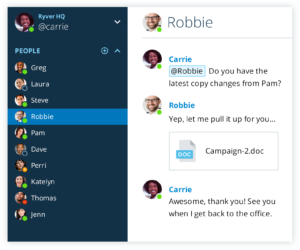
People
People is the place for one-on-one interaction (great for organizing all your direct communication with teammates).
SLACK COMPARISON: People is equivalent to Slack’s Direct Messages. (And by the way, you can easily import your Slack users, open channels, and channel messages, files, and posts to Ryver by using our Slack Migration Tool.)
- All Members show up in every other Member’s People list. However, Guest users are only visible to Members and other Guests who are part of the same Forum(s) and/or Team(s).
- To access a list of all the Users you can communicate privately with, click on the People section title in your left navigation bar. Click on any User in the list to start a totally private conversation that only you two can see. When you select them, they will be pinned to your navigation bar.
- You can “pin” people that you communicate with most often for easy access. You can also unpin or re-pin a User at any time. If an un-pinned User sends you a message, they will automatically be re-pinned.
- The Advanced Team Management feature available in our Enterprise plan provides the ability for organization administrators to manage all private teams in an organization, whether they were invited to them or not.
Collaboration Spaces
Chat
Chat is for quick conversations (great for spur-of-the-moment discussions).
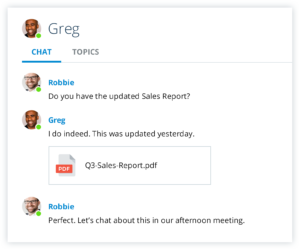
- Gone are the days of messy “reply all” email threads. Use chat to send messages to anyone on your team anytime, including sharing files, links, and even fun GIF’s. It’s all organized in one place. And anytime someone new joins the team, they get access to all past conversations so they can be quickly brought up-to-speed.
- However, when you have a lot of people talking about multiple subjects all in a Forum or Team, Chat conversations can easily become overwhelming and fragmented. That’s where Topics come in…
Topics
Topics are for specifically-focused conversations (great for longer, topic-oriented discussions).
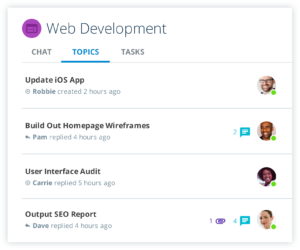
- Topics are a great way to organize ongoing discussions about a particular subject, which can be added to indefinitely.
- You can start a specific Topic for discussion and other Users are able to comment directly in your Topic, share files, and set reminders.
- Chat comments can be turned into a Topic at any time by clicking the ellipses menu on any Chat message and selecting “Create Topic”. This will then provide the option to create a Topic from the selected Chat message or multiple Chat messages.
Tasks
Tasks are for turning conversations into action (great for assigning, tracking, and completing projects).

- Tasks allow you to keep track of the projects your team commits to by creating a list of individual Tasks, assigning them to Users to work on, sharing relevant files, communicating directly within the Task, setting reminders and due dates, and tracking Task progress.
- You can choose to display your Tasks either in a Task List or as a Kanban task Board (like Trello).
- Each Task is given a specific Task ID, which can be linked to in conversations by typing “#” immediately followed by your task’s ID number.
Calls
Calls are for talking with teammates via Voice and Video, including Screen Sharing (great for internal team conference calls).

- Group Calls can be started and joined by any Member or Guest of a Forum or Team. 1-on-1 Calls can be made with any User available in your People list.
- We do not enforce any limits on the number of Users who may join a call as the maximum number varies largely on your Users’ network connections during the call. Generally, a maximum of 5 Users per call works best.
- Calls can be made from any Windows, Mac, or Linux device using our Desktop and Mobile apps.
Workflow Automation
Integrations
Integrations are for connecting with 1000’s of other apps using existing plugins or by using API’s and webhooks to create custom integrations and bots (great for instant notification of sales leads, creating customer service tickets, and managing IT ChatOps).
- Connect with 2000+ other apps with simple workflows using Zapier.
- Contact us to learn how to use API’s and webhooks to create custom integrations and bots.
News Streaming
News Streaming is for receiving social media mentions, news articles,and RSS feed content into Ryver (great for monitoring social media channels, competitors, and news events).

Workflow (discontinued feature)
Workflow was previously available as part of our Enterprise Plan but is no longer for sale. Legacy support and documentation are available upon request.
Workflow allows a user to automate business processes such as sending messages, creating task assignments, and sharing info from other apps.
Notifications
Notifications Stream
- Rather than hunting and pecking through all of your individual Forums, Teams, and People conversations to see what’s new, you can see a list of all new, relevant conversation activity in one, centralized view by clicking the Notifications header in the left navigation bar.
- You can customize your global Notifications settings in the “My Settings” menu located in the User Menu. You can also customize Notifications settings for individual Forums and Teams in the “My Settings” menu located in the User Menu or by clicking the ellipses menu in the conversation area and selecting “Notifications”.
- In the Notifications Stream, you can preview each Notification’s content and respond directly.
Left Navbar Alerts
- A red badge will appear next to any Forum, Team, or People tab in your left navigation bar whenever new conversation activity occurs inside its’ collaboration space.
Marking Notifications as “Read/Unread”
- Once you click on a Notification in the Notifications Stream, it will turn light gray to indicate that has been read. You can mark it as “Unread” again by clicking the mailbox icon listed in the notification’s menu, which appears by hovering your cursor over the Notification. You can also mark a Notification as “Read” the same way.
- When a new chat message(s) is opened in the Chat space, a pink line and the text “New Messages” will appear above all new chats. You can mark any Chat as “Unread” again by clicking the “Mark as Unread” option listed in the Chat’s menu, which appears by hovering your cursor over the Chat message. You can also mark a Chat as “Read” again the same way, or by closing and reopening the Chat space window.
Customizing Your Notifications
- You can “force” a Notification to be sent to specific Users by “@mentioning” them or to all Users in a Forum or Team by typing “@team” in your message.
- To “@mention” a User, type “@” immediately followed by the User’s name, which provides a list of all suggested Users for you to choose from. Select the desired User @mention, and then send your message.
- To “@mention” all Users in a Forum or Team at once, type “@team”, and then send your message.
Push Notifications on iOS and Android
- By default, Ryver will send you push notifications for all Ryver Notifications. This preference can be adjusted in User Menu > My Settings > Notifications > “Always send mobile push notifications even if I’m online”.
Email Notifications
- By default, Ryver will send you email notifications for all Ryver Notifications. This preference can be adjusted in User Menu > My Settings > Notifications > “When I’m Offline”.
User Menu
Open your User Menu by clicking the drop-down button located at the top of your left Navbar.
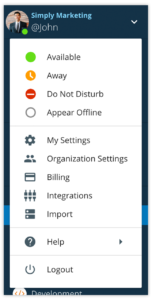
The User Menu provides the following options:
- User Statuses — Let your teammates know your status by choosing from the following:
- “Available”
- “Away”
- NOTE: To help your teammates know when you’re active versus simply forgot to change your status to “Away”, if your status is marked as “Available”, you have not used Ryver for 5-10 minutes, and you’re using the browser app or desktop app, your status will automatically change to “Away”. If accessing Ryver using the desktop app, the status changes to “Away” when there has been no activity on your computer (inside or outside of the Ryver application) for 5 minutes. If accessing Ryver through your browser, the status changes to “Away” when your browser tab has been inactive for 10 minutes.
- “Do Not Disturb” (prevents all Ryver Desktop Notifications from appearing)
- “Appear Offline”
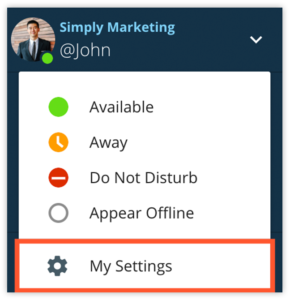
- My Settings — Edit your account information, preferences, and defaults.
- Organization Settings (Account Owners & Admins only) — Manage Users, Teams (Enterprise Plan only), Permissions, Preferences, Billing History, Task Users, SSO, News Streaming, and Signup Links.
- Billing — Manage your Ryver subscription.
- Integrations — Set up Inbound Webhooks, Outbound Webhooks, and Zapier Integrations.
- Import — Import your Slack or HipChat data.
- Help — Access Ryver Support, discover Keyboard Shortcuts, learn text Formatting commands, and Contact Support.
- Logout — Logout of your Ryver Organization.
- Switch Organization (Mobile App only) — Switch to another Ryver Organization account.
- NOTE: Switching Organizations can only be done in browsers by logging out and logging in to a different Organization URL, and it can only be done in desktop apps by adding Organizations to the Org Switcher Bar on the far left side of the app window.
My Settings
You can customize your Ryver experience in the My Settings controls.
The following settings can be updated here:
- Preferences — Adjust navigation views, Pinning order, Inputs and Shortcuts, Chat embeds, Integrations, and Reset Help Banners.
- User Account — Change your Username, Password, Email address, and Time Zone. You may also choose to leave your Organization here.
- Profile — Edit your Display Name, Role, About Me, and Phone Number.
- Notifications — Edit Notifications settings for Desktop, offline emails, sounds, in-app notifications, notification deletion, and mobile push notifications. You can also adjust global notification default settings.
- My Forums — Pin a Forum to your left Navbar, edit Notifications settings for individual Forums, and leave a Forum.
- My Teams — Pin a Team to your left Navbar, edit Notifications settings for individual Teams, and leave a Team.